Sunday, December 15, 2013

Ornaments

I took a ruler, drew six lines of different lengths.  Then I drew a little ribbon on each one.  After that I glued on three red buttons and three green buttons and drew the top of the ornament above the buttons and added the stamp Merry Christmas.

Circles and Vellum

Took a green card,  three green circles and three red circles.  I stamped little designs, a sock, a tree, a present, a snowflake and a reindeer on five of them and then one I stamped with the word Joy.  Next I took a vellum saying of Peace and trimmed the edges with a scalloped scissors and placed it on top of the circles.

Tree Pyramid of little Trees

I took a little christmas tree stamp, stamped it five times on the bottom row, four on the one above, three on the one above, two on the one above and one on top.  Added Merry Christmas and that's it

Folded Christmas Tree

I just took some different design papers and folded them and formed a tree - this one didn't come out too good I have to rethink it.  Then I cut a small trunk and added a star

Simple Christmas Tree

Just stamped a simple Christmas tree and added some green stickles and drew a trunk

Candles Card

This is another pretty yet simple card - I just cut three long pieces of different design paper and cut out three flames. Then I matted some white cardstock over some pink cardstock on a red card and stamped merry christmas

Blue Christmas Stocking

This is just a simple blue stocking stamped with a bunch of snowflakes around it and some blue stickles added

Monday, November 25, 2013
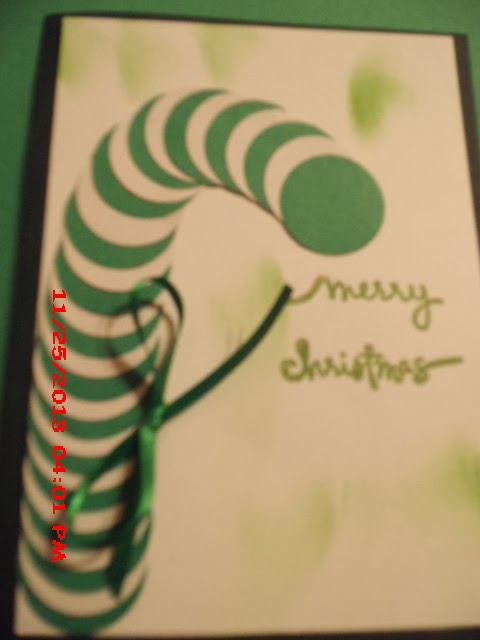
Candy Cane Cards


This is easy as pie - just cut out some small  white and red and white and green circles, line them up alternating colors,  stamp merry christmas and you're done!

Friday, November 22, 2013

Poutpourri Bag

Just decorated a Poutpourri bag from Stampin Up with an iron on of a stamp Peace Love and Joy and stamped the back of it also and added poutpourri and closed it up

Stampin Up Gift Box

This is actually a Gift box from Stampin Up and I decorated a piece of cardstock and matted it over with a presents Stamp ecorated and a Wishing You a Very Merry Christmas Stamp and put some silver/white ribbon thru the top to carry it

Greetings Of The Seaon

A Stamp with Greetings of the Season on it - some silver snowflakes stickled up in silver - a tourquoise trim with silver sparkles on top and an ornament type decoration added with Zots  glued to white cardstock over a tourquoise card.

Noel Ornaments

Just stamped some ornaments in different colors and matted them onto a white cardstock over a red card added the words NOEL and stickles to sharpen it up

Silver Christmas Tree

These are two different cards with a little variation on the silver tree - I used a sponge to create the silver square behind the trees, then scatter stamped the trees and added stickles and a Peace on earth stamp as well as some birds up in the corners and stickled those as well.


Merry CHristmas Card

This is a really simple Christmas Card - one stamp Merry CHristmas and 3 cut out designs decorated with stickles and another stip design across the top

Deck The Halls Card


This card is actually pretty simple to make - 3 cut out ornament punches decorated and added with zots and a stamp in the corner - matted over a black cardstock piece over a red card and stickles to sparkle

Twig Christmas Tree Card


I used twigs from my yard to make this card simply cut/broke them different lengths.  Then I hot glued them to the card and added different colored sparkles for the ornaments and stickles for the garland and added a start at the top with a sparkle in the middle

Sunday, June 30, 2013


This is a two page baby baptism layout I did. Top Page:  Yellow cardstock and an angle cut piece of baby paper.  Put a Baptism sticker across the top which reads "My Baptism Day"  with a cross embellishment in the center and some cute little baby boy christening outfit stuff in the upper right hand corner.  Lower right corner has a journal for christening info and a circle reads "A child of God"  in the lower left corner.

On the second page I used the same cardstock and paper, only put the paper on the opposite side so when laid side by side they match.  There is a sticker across the top which reads "New Beginnings, New Life"  and a little "Holy Bible" embellishment under it.  Then I added a "Baptized Unto Christ" sticker across the bottom and a little bird in the left hand corner.

This is a simple two page layout for Christmas -  Nothing fancy -- again just to show you can do simple things and they can be cute and just put some pics into them to make them complete.  The top one took some yellow cardstock, cut some read squares glued them in place, stamped some christmas trees, and put a strip of decorative paper on the left side and that's it.  The bottom page just put some green strips of decorated paper about 1/4" x 12"  across a 6"x12" piece of green cardstock.  Glued that to a piece of red decorative patterned paper and then took a 3"x12" piece of yellow cardstock, added some patterned decorative paper to that, and glued that in the middle of the page.  Added some glitter to the ribbons on the packages in the paper.
These blank pages I'm posting just show you that you don't have to have a lot of talent to make some cute simple pages for your photos.  I took a wedgewood blue piece of cardstock, put a 4x12 piece of decorated scrap paper glued it in the middle.  Then I added a die cut FAMILY in the upper left - a die cut poster board flower upper right.  I took a piece of ribbon across the bottom and embellished it with two die cut poster board flowers on eithe side and a little tag above that which reads "memories"  and I'm done -- ready to add photos, journaling, etc.. for a nice family page.
This is just one of a few pages I've been making using up scrap poster board stuff I have -- put some polka dot ribbon across the top and bottom, a die cut LIFE in the upper left corner and die cut flowers in the other three corners, a blank tag across the bottom, and frame in the middle for a photo.  You can add journaling if you like also to dress it up more.  You can also write in the tag on the bottom

This is another buggy card - two circles cut in half, glued together, cut out a handle glued that - added some ribbon and matted it on a white card in front of a blue background - added some pearlesque stickles on the carriage cover and wheels and you're done.  Stamp the inside as you wish or even stamp the outside if you want
Another really simple card - just used some sticky tape design on top and bottom, a FRIENDS tag which I embellished with some stickles and two brads, and adhered it to a green card.  Stamp the inside anyway you wish.
This is a really simple card to make you make two circles 1 3/4" regular circle and 1 3/4"  scalloped circle.  Cut the circles in half for two cards.  use the scalloped piece for the carriage cover and the plain one for the bottom.  Decorate any way you like - either use two smal circles for the wheels or two buttons - I've done both and I'll post some of the ones with buttons - cut a handle and glue it all together and glue to a card - walla you're done - simple and easy and adorable.  Add your own wording or embellishments as desired.

Friday, May 23, 2008


This is just a pic of me taken a few years ago in my hallway at home.

Monday, April 14, 2008

Paper Garden Layout


Another fun layout using my FAVORITE paper -- Paper Garden - this was especially fun because it was of my bichon frise Marley !